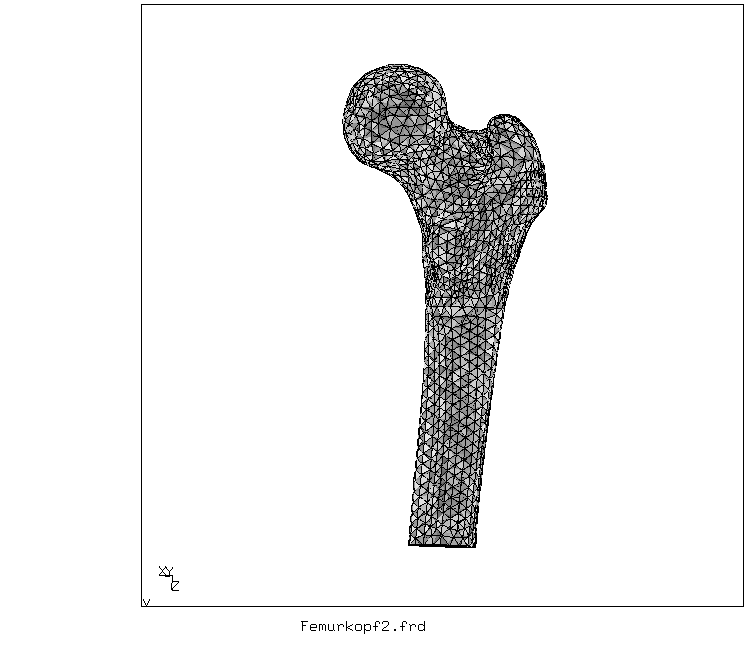
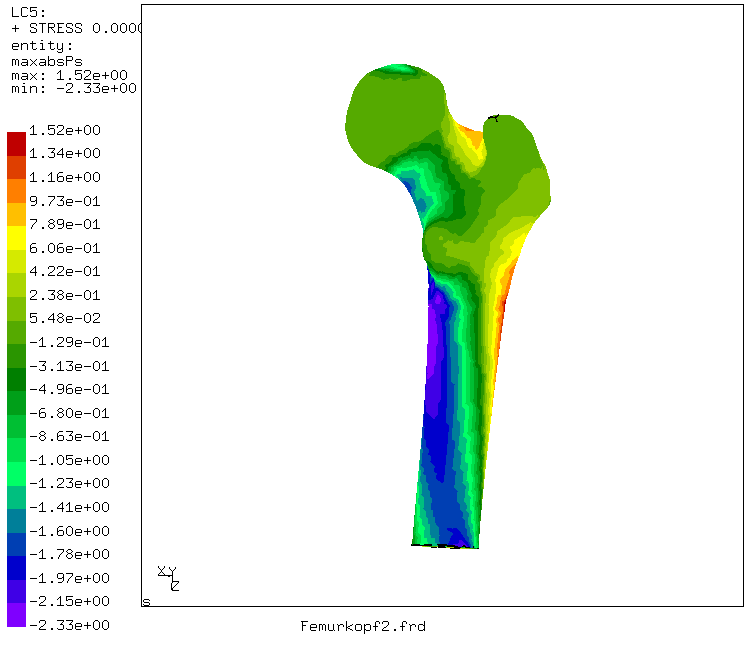
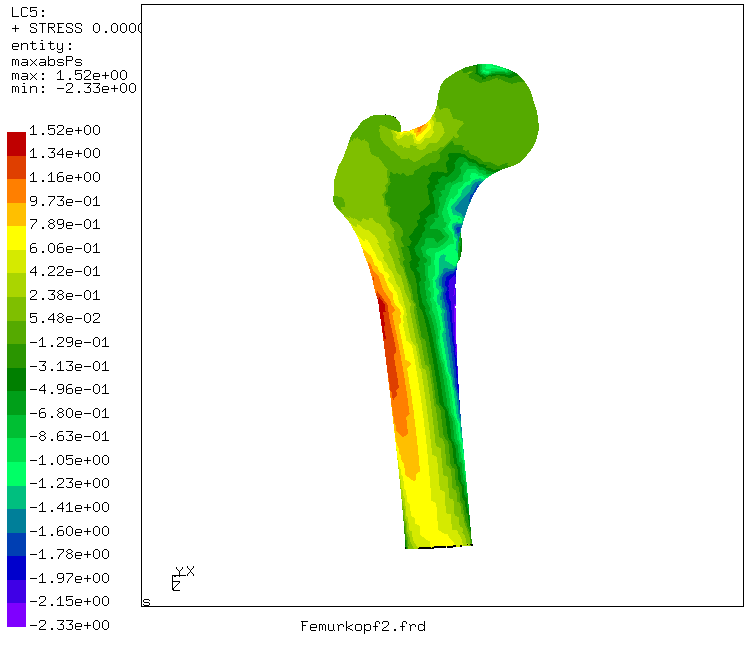
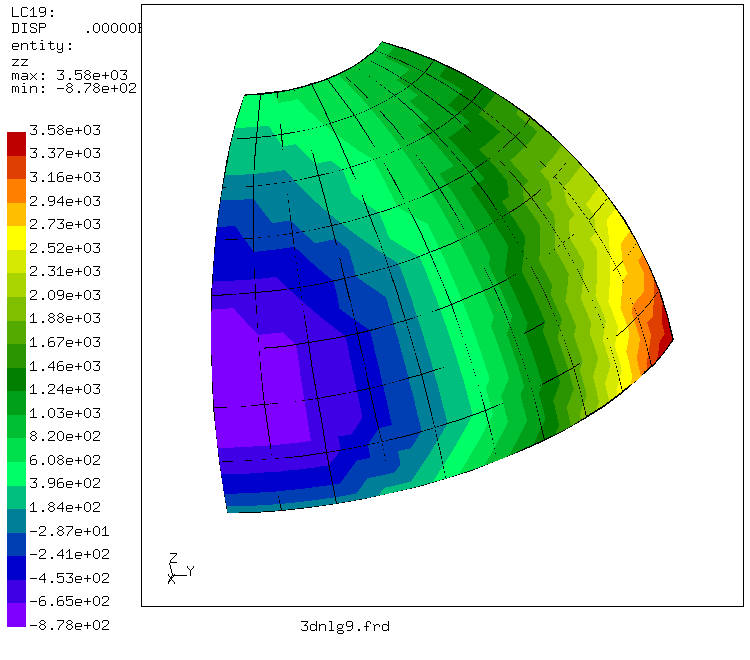
The bone material (substantia compacta as well as the substantia spongiosa) was modelled as one and the same linear elastic isotropic material, the cavitas medullaris is void. A force of 300 N was applied on the head of the femur in the direction of the knee. This force corresponds to about half the weight of an average man above the thights and its direction fits a human being standing on both legs in an upright position. The lower end of the model was fixed in all directions. Due to the shape of the femur, this force (applied as a distributed pressure) leads to internal bending moments. The corresponding tensile and compressive stresses reach values of about 3 MPa. This is illustrated in the next two figures, where the maximum principal stress is plotted in two different views.
The following table gives an impression of the CPU-time needed for a linear static calculation of the above model on different platforms:
| Solver | Platform | CPU-time |
| Iterative, scaling | Pentium 200 MHz | 86' |
| Iterative, Cholesky | Pentium 200 MHz | 45' |
| SPOOLES | Athlon 700 MHz | 17' |
| Iterative, scaling | Athlon 700 MHz | 14' |
| Iterative, Cholesky | Athlon 700 MHz | 7' |
| Load | A (CALCULIX) | A (reference) | B (CALCULIX) | B (reference) |
| 40 | -3.24 | -3.26 | 2.31 | 2.32 |
| 60 | -4.29 | -4.34 | 2.79 | 2.82 |
| 100 | -5.78 | -5.90 | 3.35 | 3.41 |
Displacement in the load introduction points A and B (in m)
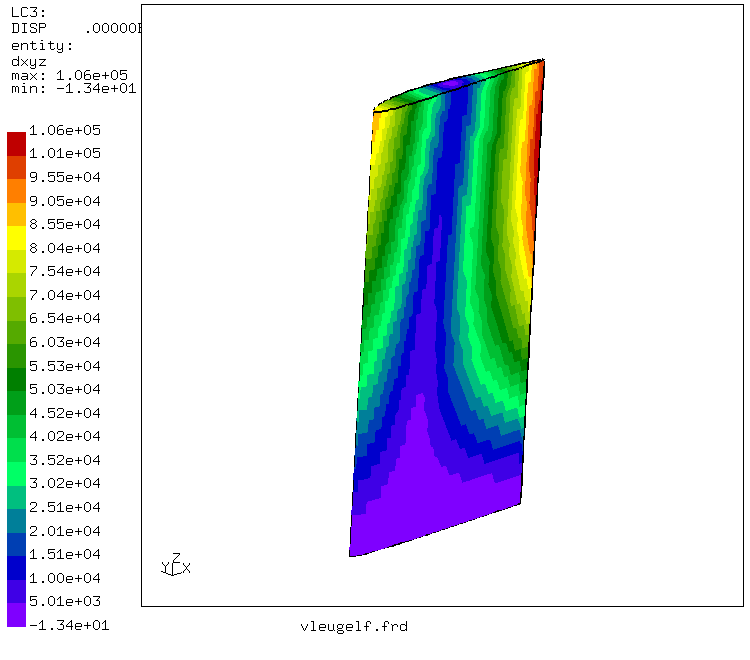
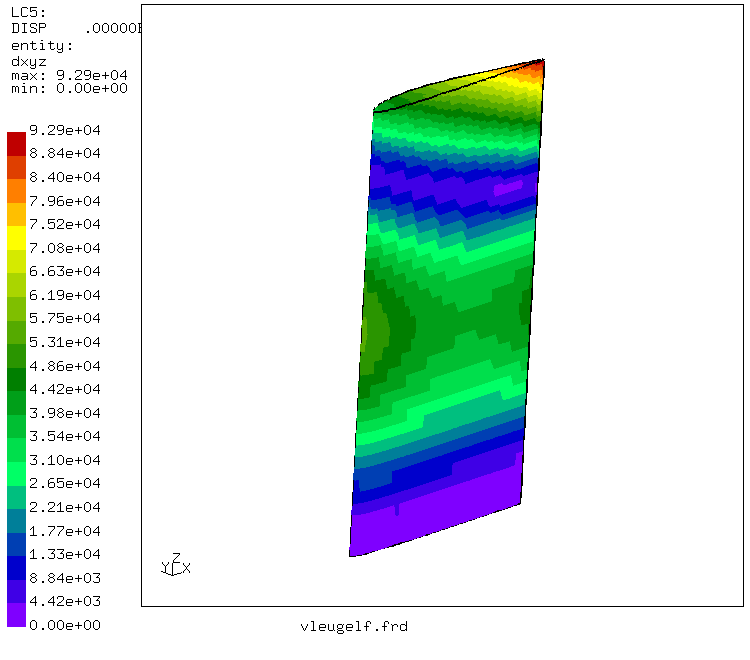
The following figures give an overview of the total deformation and the deformation in the direction of the symmetry axis. The deformations are about half the radius of the shell (large deformation). There was only one layer of elements across the thickness of the shell (1872 degrees of freedom in total). This example shows that the use of 20-node brick elements with reduced integration can also be advantageous for thin shells.
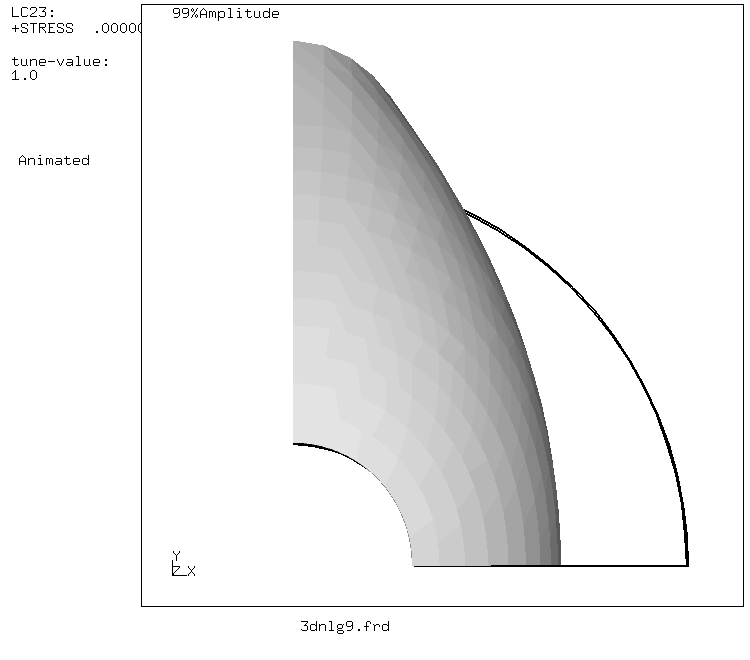
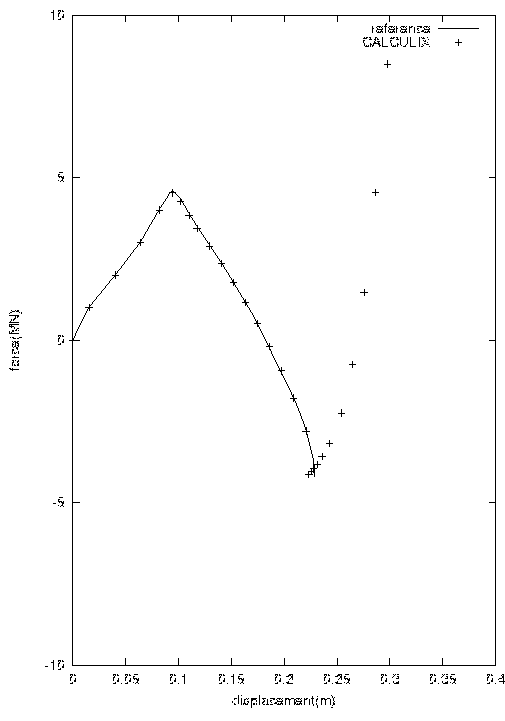
The next figure shows the force versus the displacement in the middle of the shell. The calculation was at first force controlled. Both force and displacement increase up to the buckling of the shell. At this point no convergence was obtained any more, and the calculation was pursued in a displacement controlled fashion. During buckling the force decreases and reaches negative values, i.e. a tensile force has to be exerted to maintain the shell in these intermediate configurations. Then, the force is still negative but increases again. At the minimum value of the force the curve seems to exhibit a kink. Up to this point CALCULIX and the reference solution agreed. Only at the minimum a small difference is observed, and the reference solution (same calculation with a commercial finite element program) stops due to lack of convergence. CALCULIX did not meet this difficulty, and continues its calculation. Now, the force increases in a sort of quadratic fashion, crosses the zero force line (equilibrium in the buckled configuration) and continues this course till the end of the calculation. This seems reasonable, since a new stable configuration has been reached. This calculation shows that one layer of 20-node brick elements is a viable alternative to the use of shell elements and that CALCULIX is able to perform highly nonlinear calculations.